

Mastering Cabinet Climate: How to Choose and Test an Enclosure Heater
Table of Contents
Key Takeaways
The Role of an Enclosure Heater
How to Choose the Right Enclosure Heater
Step-by-Step: Installation and Testing
Troubleshooting and Maintenance
FAQ
Click here to view the catalog
Summary: Moisture and condensation are silent killers of industrial electrical components. This guide will walk you through how to select the right enclosure heater for your control cabinet and provide a detailed guide for installation, testing, and maintenance to ensure your critical assets stay dry and operational.
Key Takeaways
-
Identify Your Need: Determine if you need heating primarily for condensation prevention or for cold start-up assistance.
-
Match Power & Size: Correctly calculate the wattage and choose a form factor that fits your cabinet's layout and thermal requirements.
-
Verify Functionality: Use a multimeter to check resistance and perform a powered operational test to ensure the heater and its thermostat work correctly.
-
Prioritize Safety: Always disconnect power before installation and wear appropriate safety gear.
The Role of an Enclosure Heater: More Than Just Warmth
Industrial temperature fluctuations cause condensation to form inside control cabinets. This moisture leads to corrosion, short circuits, and component failure, resulting in costly downtime. The primary purpose of an enclosure heater is not to make the cabinet hot, but to:
-
Prevent Condensation: By raising the internal air temperature just a few degrees above the ambient dew point, it eliminates the conditions that cause water to form.
-
Ensure Cold Start Reliability: In freezing environments, it keeps components within their safe operating temperature range, guaranteeing systems power on as expected.
How to Choose the Right Enclosure Heater
Selecting the correct heater is a proactive investment that prevents reactive repairs. Here’s your selection checklist:
| Consideration Factor | Description & Guidance |
|---|---|
| Primary Goal | Anti-Condensation or Frost Protection. Anti-condensation requires lower wattage, while frost protection needs higher power based on the lowest ambient temperature. |
| Wattage Calculation | Depends on cabinet volume, internal-external temperature difference, and insulation. A simple rule of thumb: Wattage (W) ≈ Cabinet Volume (m³) × ΔT (°C) × Insulation Factor (typically 10-15). For standard cabinets, 40W to 100W is often sufficient for condensation control. |
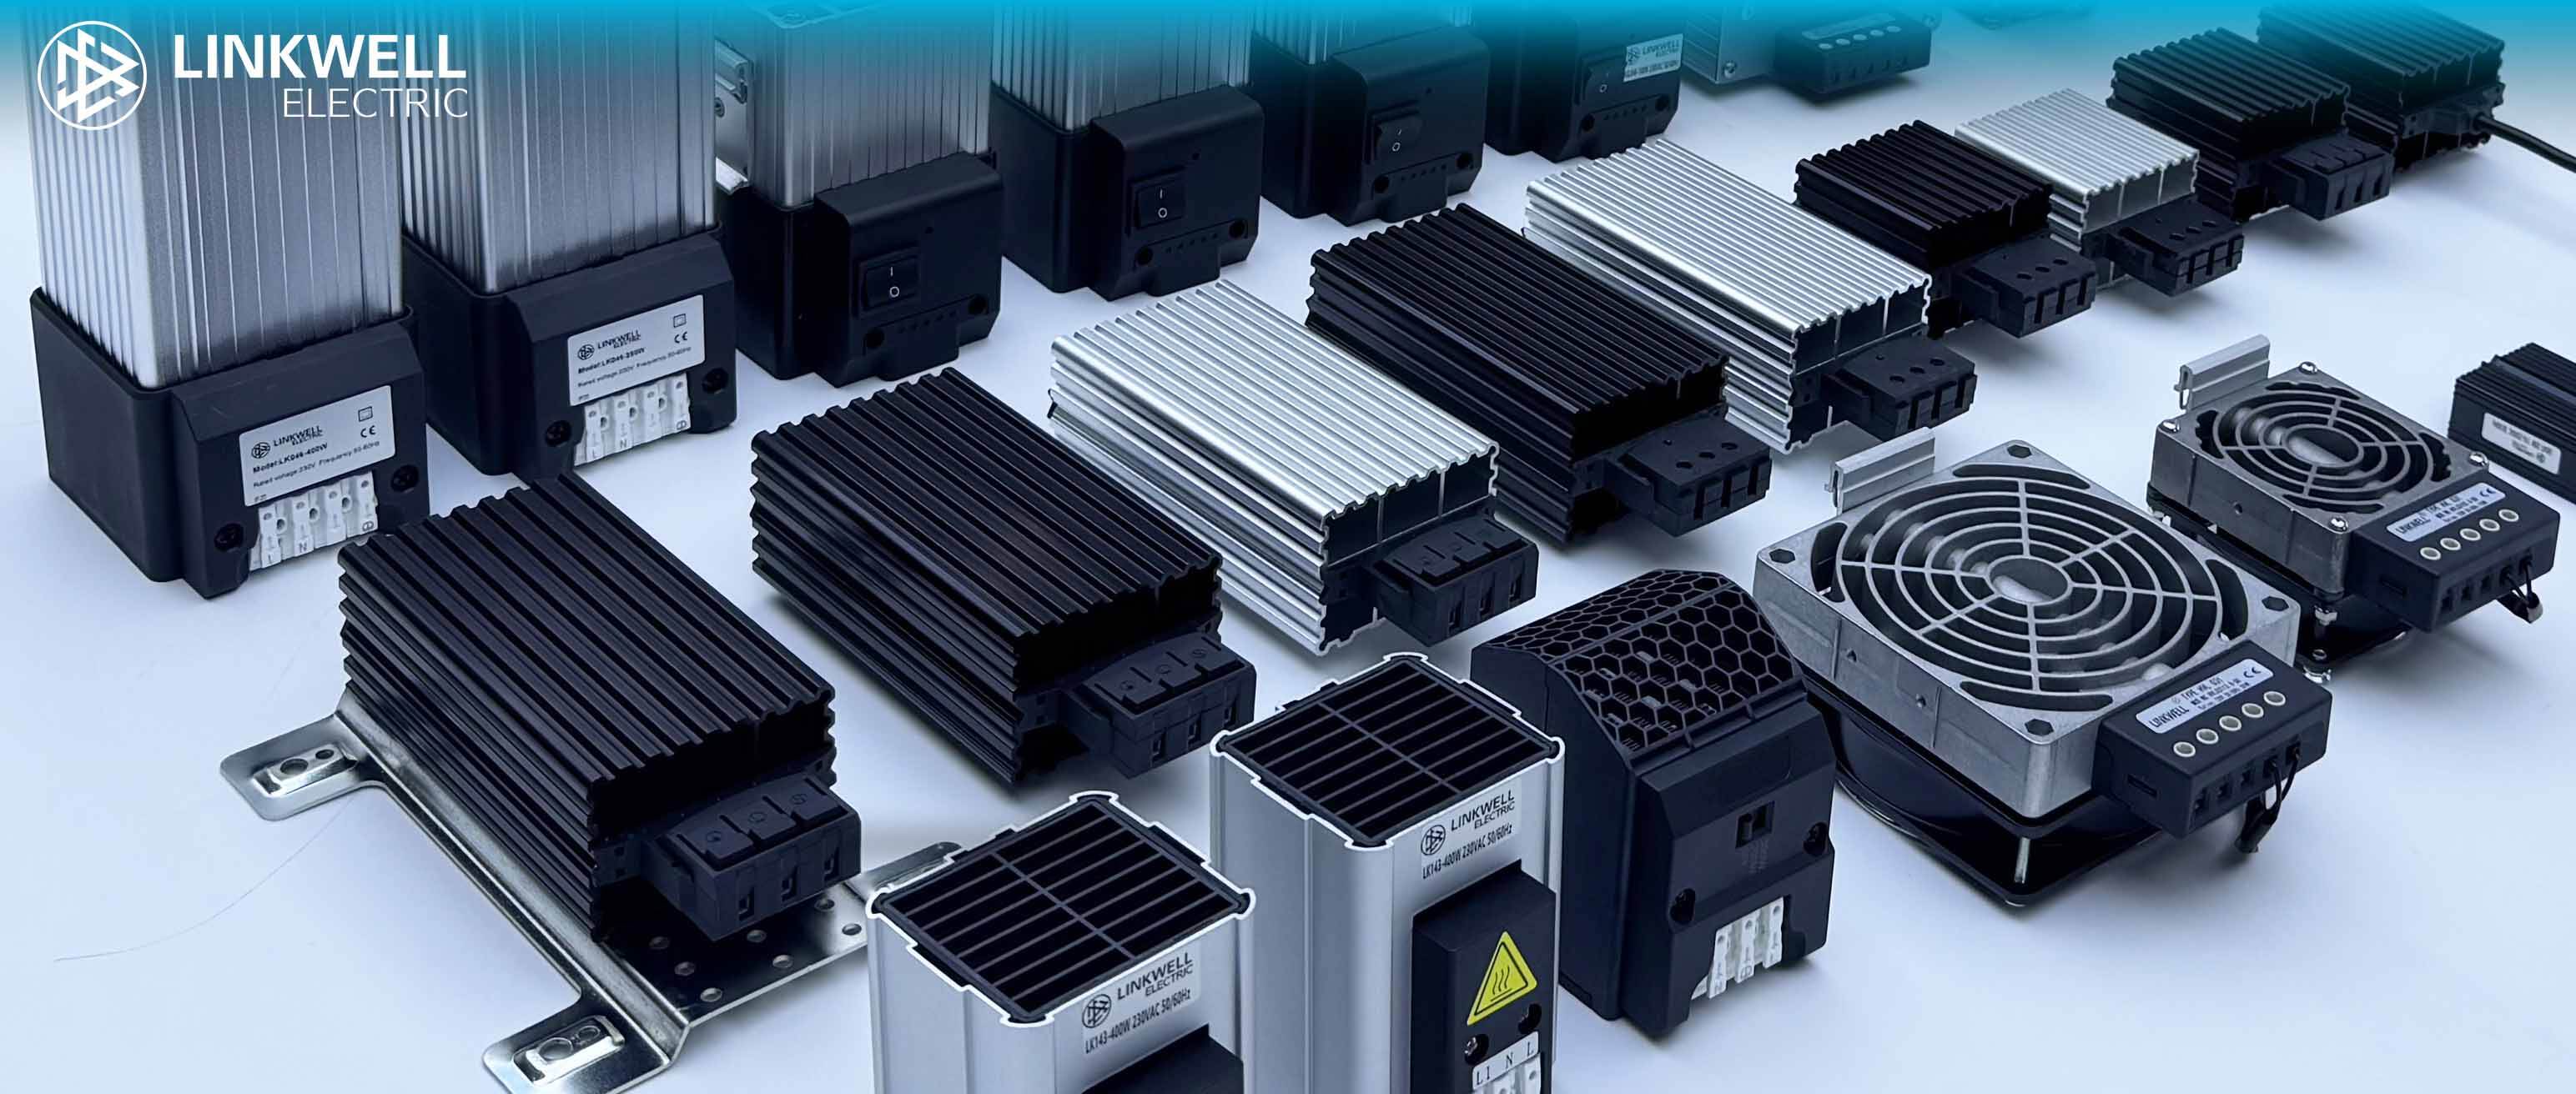
| Form Factor | Must fit the available space. Common types include strip, tubular, and finned heaters. Ensure safe clearance from other components. |
| Supply Voltage | Must match your plant's supply (e.g., AC 24V, 110V, 230V). |
| Safety & Certifications | Look for relevant certifications like CE, UL, and RoHS to ensure industrial safety and reliability. |
| With or Without Thermostat | Models with integrated thermostats are self-regulating and energy-efficient. Models without require a separate enclosure thermostat for control. |
Tip: When in doubt, consult with a technical specialist. We can provide precise recommendations based on your specific application.
Step-by-Step: Installation and Testing Your Heater
Proper installation and verification are key to long-term performance.
Safety First: Preparation
-
Disconnect and lock out all power to the control cabinet.
-
Use a voltage tester to confirm the installation point is de-energized.
-
Wear safety gloves and glasses to protect against sharp edges and burns.
Installation & Wiring
-
Choose Location: Typically mounted at the bottom or lower side of the cabinet to promote natural convection. Avoid direct contact with wires or sensitive devices.
-
Secure the Heater: Use the provided mounting holes or brackets and screws to fix the heater firmly to the cabinet wall.
-
Wire Correctly:
-
For heaters with an integrated thermostat, simply connect the Line (L) and Neutral (N) wires to the power source.
-
For heaters without a thermostat, it must be wired in series with the output of a dedicated enclosure thermostat.
-
Ensure all terminations are tight, using ferrules or crimp lugs for best practice.
-
Functional Testing: Ensuring It Works
Before closing the cabinet, perform these tests:
-
Resistance Test (Power OFF):
-
Set your multimeter to the Resistance (Ω) mode.
-
Place the probes on the heater's main power terminals.
-
You should read a stable resistance value. Using the formula R = V² / P, a 230V/100W heater should have a resistance of approximately 529 Ohms.
-
A reading of Infinite Ω (OL) indicates an open circuit (broken element). A reading of 0 Ω indicates a short circuit. Both mean the heater is faulty.
-
-
Operational Test (Power ON):
-
Restore power under safe conditions.
-
For heaters with a thermostat: Feel for heat radiating from the unit. It should cycle on and off as the internal thermostat reaches its setpoint.
-
For heaters without a thermostat: The operation will be controlled by its separate thermostat, which you will need to test accordingly.
-
Observe a full cycle to confirm proper operation.
-
Note: During the operational test, do not touch the heating element directly to avoid burns.
Troubleshooting and Maintenance
Routine Maintenance
-
Visual Inspection: Check quarterly or semi-annually for dust buildup, physical damage, or discoloration. Dust acts as an insulator, reducing efficiency.
-
Cleaning: Power down and use a soft brush or low-pressure compressed air to remove dust.
-
Connection Check: Annually, inspect terminal connections for tightness and signs of corrosion.
Common Issues & Solutions
| Problem | Potential Cause | Troubleshooting Steps |
|---|---|---|
| Heater Not Working | 1. No power 2. Thermostat setpoint too high or faulty 3. Heater element failed |
1. Check circuit breaker and power supply 2. Verify thermostat settings/function 3. Perform Resistance Test with a multimeter |
| Heater Runs Continuously | 1. Thermostat setpoint too low 2. Faulty thermostat (stuck contacts) 3. Ambient temperature too low |
1. Adjust thermostat setpoint higher 2. Check or replace the thermostat |
| No Temperature Change in Cabinet | 1. Undersized wattage 2. Poor cabinet seal/heat loss 3. Incorrect heater placement |
1. Recalculate and upgrade heater power 2. Inspect and repair cabinet seals 3. Relocate heater for better air circulation |
Why Choose Our Enclosure Heaters?
Our products are engineered for robust industrial performance, providing a reliable and worry-free solution:
-
Precise Wattage Range: A wide selection from 10W to 300W to suit any cabinet size and requirement.
-
Robust & Safe Design: Featuring high-grade alloy resistance wires and magnesium oxide insulation for even heat distribution and long life. Enclosures are often stainless steel or anodized aluminum for corrosion resistance.
-
Flexible Configuration: Available with integrated thermostats (fixed or adjustable) or as standalone elements to pair with your preferred controller.
-
Easy Installation & Service: Modular designs with standard mounting options simplify setup and replacement, minimizing downtime.
Investing in the right enclosure heater is like taking out an insurance policy for your most critical electrical assets.
FAQ
Q1: What wattage heater do I need for a standard control cabinet?
A: For a typical 800mm x 600mm x 200mm cabinet in a moderately humid environment, a 40W to 60W heater is often sufficient for condensation prevention. A precise calculation based on your minimum ambient temperature is always recommended.
Q2: Should I leave the heater on all the time or only when needed?
A: For condensation control, it is best practice to leave it powered on during humid seasons or in environments with large temperature swings. The integrated or external thermostat will cycle the heater on and off as needed, making it energy-efficient.
Q3: How can I tell if the thermostat on my heater is working?
A: Try lowering the thermostat's setpoint. You should hear a faint "click" and the heater will turn on. Then, raise the setpoint above the current temperature; you should hear another "click" as the heater turns off.
Q4: Do you offer custom heater solutions?
A: Yes, we provide customization for special voltage, shape, size, or wattage requirements. Please contact our technical support team with your specifications.